It was 8 AM on a Tuesday.
I was already at work when my phone rang. It was my wife: “Nothing is working this morning. No internet, no Jellyfin, nothing.”
I walked her through checking the server. No lights. No fan noise. She tried the power button. Nothing.
The PSU was dead. And with it? Everything. Router, storage, media server, home automation, my entire IT infrastructure in one box, dead.
I left work, drove to BestBuy, bought a new PSU, and spent the next hour getting everything back online. Four hour where my wife couldn’t work from home, couldn’t stream anything, couldn’t do basic internet tasks. Outage duration: about four hours total.
That’s when I committed to tearing it all apart.
This is Part 4 in our series, and today we’re covering the dedicated compute node. The server that runs all your applications while your router handles traffic and your NAS stores your files.
If you’re running everything on one machine right now? This is your warning shot.
Why Your Homelab Needs a Dedicated Proxmox Compute Server
Running everything on one machine feels efficient. It feels smart. It is neither.
It’s complicated. And it’s fragile.
Here’s what actually happens when you cram routing, storage, and compute into a single Proxmox server:
One failure takes down everything.
One dead PSU. One bad kernel update. One stuck VM. Suddenly your internet is gone, your files are inaccessible, and your entire household is asking when things will work again.
Reboots become a crisis.
Need to apply Proxmox updates? Cool. Your router goes down. Your NAS goes offline. Every service you run disappears for ten minutes while you pray everything comes back in the right order.
Boot order becomes a nightmare.
I ran a virtualized NAS on my all-in-one Proxmox server for way too long. Proxmox wouldn’t reliably mount NFS shares before LXCs like Jellyfin tried to start. I tried systemd automounts, autofs, custom scripts, all of it. Nothing was reliable enough. Every boot was a gamble. Would Jellyfin find its media? Would the shares even mount? I’d spend ten minutes hand-holding the server back to life, restarting services manually until everything lined up.
One workload can kill everything else.
Kick off a Tdarr batch transcode job and watch your CPU pin at 100%. Now your router is struggling. DNS queries are timing out. Someone’s work VPN drops mid-call. All because you decided to transcode some files.
A full filesystem cascades.
One container fills your root partition with logs. Now your storage is broken too. Your apps won’t start. Your VMs won’t boot. And you’re stuck SSHing in to clean up the mess before anything works again.
What Separation Actually Gives You
Splitting compute away from routing and storage fixes all of this before it becomes a crisis.
Fault isolation that actually works.
A few weeks ago I completely rebuilt several LXCs and VMs on my compute box. I moved the entire Arr suite from separate LXC containers into one Docker VM. I rebuilt my Immich server from scratch. Nobody noticed. Not a single complaint. The only time my wife knew something was happening was when I asked her to let me know when her show was over so, I could reboot the server. Four minutes later, Jellyfin was back and she kept watching.
That’s what separation gives you. The freedom to break things, test things, rebuild things, all without taking down the internet or losing access to your files.
Sane boot order.
Your NAS boots after the router. NFS and SMB shares are ready and waiting. Your router is already routing. Then your Proxmox compute node boots, mounts storage paths, and starts services in a predictable order. No more race conditions. No more “will it work this time” anxiety. Things just come up clean.
Better performance across the board.
Transcoding, Sonarr indexing, torrent hashing, container updates, all of that lives on hardware designed to handle it. Your NAS focuses on serving files fast. Your router focuses on routing packets and running OPNsense. Everyone stays in their lane and does their job well.
This isn’t overkill.
This is building your homelab correctly. With purpose. So it works reliably every single time.
What the Proxmox Compute Node Actually Does
The compute node is where your Homelab apps and services live.
This is the server where you run:
- Media servers: Jellyfin, Plex, Emby
- Media automation: Sonarr, Radarr, Prowlarr, Bazarr, Lidarr
- Download clients: qBittorrent, SABnzbd, NZBGet
- Media processing: Tdarr for transcoding and file cleanup
- Reverse proxy: Nginx Proxy Manager or Traefik
- Remote access: Tailscale, Cloudflare Tunnel, or WireGuard
- Self-hosted services: Home Assistant, Immich, Audiobookshelf, Kavita, Nextcloud
The Proxmox compute server is responsible for:
- Hosting all your containers, VMs, and LXCs
- Handling heavy CPU loads like video transcoding, media analysis, and file processing
- Mounting storage from your NAS over NFS or SMB without breaking when mounts are slow
- Exposing services safely through your router and reverse proxy
- Keeping everything isolated enough that when one app crashes, it doesn’t cascade
Think of it as the app layer in your home data center architecture. Router at the edge. NAS storage at the bottom. Compute in the middle doing the heavy lifting.
Why Proxmox VE Is the Right Hypervisor for Homelab Compute
You can absolutely run everything on bare metal Linux with Docker. You can force it.
You’ll also hate yourself when you want to move a service, pass through a GPU, snapshot before an upgrade, or deal with backups that don’t suck.
Proxmox VE solves most of those problems with one installation.
Why Proxmox works so well for homelab compute servers:
- Web UI that doesn’t make you want to throw your keyboard
- Native support for both LXC containers and full VMs
- Easy snapshots and backups that actually save you when things break
- Good integration with NFS, SMB, and iSCSI for mounting external NAS storage
- Straightforward PCIe and GPU passthrough for hardware transcoding
- Flexible enough to grow into Proxmox clusters later if you add more nodes
LXC vs VMs vs Docker in Proxmox
You have three layers to work with in Proxmox VE:
| Workload | Best Fit | Why |
|---|---|---|
| Lightweight Linux services | LXC | Low overhead, fast boot, easy resource limits |
| Full OS instances | VM | When you need complete isolation or non-Linux guests |
| App-level deployment | Docker | Huge ecosystem, easy configs, stacks and compose |
Here’s a sane Proxmox layout pattern that actually works in production:
- Proxmox VE at the base layer
- A few LXC containers for core infrastructure services (reverse proxy, monitoring)
- One or more VMs running Docker for your application stacks
Why use VMs for Docker instead of LXCs?
Proxmox themselves advise against running Docker inside LXC containers. Running containers inside containers gets weird fast. You’ll hit issues with nested namespaces, cgroup limitations, and storage drivers. A VM gives you clean kernel isolation and full control without the headaches.
My current Proxmox compute server setup as an example:
I’m running an Intel i5-12600K with 64 GB of RAM, a 6-disk RAID-Z2 array for protected VM and LXC storage, and a 2 TB NVMe drive for Proxmox itself plus workloads that need fast, unprotected storage.
On top of that:
- Jellyfin - Runs in an LXC so I can pass through Intel QuickSync for hardware transcoding without losing the ability to share the iGPU with other containers or the Proxmox host
- Docker VM for the Arr suite - Sonarr, Radarr, Prowlarr, all in one VM managed with Docker Compose
- Docker VM for automation tools - n8n, Node-RED, OpenWebUI, and Home Assistant
- Nginx Proxy Manager LXC - Reverse proxy handling all external access
- Individual service LXCs - Audiobookshelf, Ansible, Hugo - Each doing one job, cleanly isolated
I don’t share media outside my house because cable upload speeds are trash, but inside the house I’ve never hit issues with up to three simultaneous 4K streams.
And now? I can rebuild or test elements of it without anyone noticing. This is the point of separating compute from the router and storage.
Storage Access in Proxmox Without the Pain
This is where a lot of homelab builders get burned.
Your Proxmox compute node should not be where your media lives. It should be where your media is accessed and used.
Here’s the right way to handle storage:
- Media and files live on your dedicated NAS server
- NAS exports storage via NFS or SMB shares
- Proxmox compute box mounts those shares and passes them into LXCs and VMs
My NAS is bare metal Debian 13 with a MergerFS pool, connected to the compute box over 10 GbE. It serves both NFS and SMB shares depending on what needs them.
The Storage Migration Process
When I finally pulled storage off the all-in-one, the process was straightforward but took some planning:
-
Step 1: Build the new NAS first. I installed Debian 13, MergerFS, NFS, and SMB.
-
Step 2: Physically move the Hard Drives and HBA. Pulled the HBA and 7 drives out of the all-in-one host and moved them to the new dedicated hardware.
-
Step 3: Configure MergerFS, NFS, and SMB Configured the MergerFS storage pool. Configured NFS and SMB shares.
-
Step 4: Verify everything. I left the old storage VM off but in place for a week. Just in case anything went sideways. Once I was confident, I removed it and I haven’t looked back since.
Rules to Save You From Storage Headaches
Use consistent mount points across everything.
Pick a path structure and stick to it:
/media/storage/movies/media/storage/shows/media/storage/music
Mount these into your Proxmox LXCs and VMs so the paths inside match exactly. Life is dramatically easier when Jellyfin, The arr suite, and SABnzbd all agree on where /movies, /shows, and /music live.
Keep transcode and temp work on local SSD.
Let Jellyfin and Tdarr use local NVMe or SSD paths for transcoding cache and analysis. Don’t hammer your NAS with endless small writes if you don’t have to. Your NAS will thank you, and your transcodes will be faster.
Mount read-only where you can.
For plain media directories that rarely change, mount them read-only to services that only need to read. A misbehaving app can’t delete your entire movie library if it doesn’t have write access.
Network Configuration for Proxmox and NAS
Your Proxmox compute node and NAS should be on the same network for best performance. Use static IP addresses for both so your mounts don’t break if DHCP leases change.
For 1 GbE networks: This works fine for most home users. You’ll get roughly 100-115 MB/s transfer speeds, which handles multiple 1080p streams and light 4K transcoding without issues.
For 2.5 GbE networks: The sweet spot for cost vs performance in 2025. You’ll get 250-280 MB/s, plenty for heavy 4K streaming and multiple simultaneous transcodes.
For 10 GbE networks: Overkill for most, but if you’re running lots of VMs, doing heavy transcoding, or have multiple users, the 1000+ MB/s speeds make everything feel instant.

Right now one of the best price per GB you can find. Also has a 2-year warranty.
Best Proxmox Compute Server Hardware for 2025
You don’t need a screaming 1U datacenter monster for a good Proxmox homelab. You just need the right balance of CPU cores, RAM, and storage.
Here’s what that looks like.
Budget Proxmox Compute Server Build
Specs:
- 4-core CPU with VT-x/AMD-V support
- 8-16 GB RAM (minimum 8 GB)
- 250-500 GB SSD for Proxmox and VMs
- 1 GbE or 2.5 GbE NIC
Good for:
- 1080p media streaming with Jellyfin or Plex
- 2-3 simultaneous users
- A handful of Docker containers in one VM
- Light home automation and a few LXCs
Why 16GB of RAM?
Proxmox itself needs about 2 GB minimum. Each VM or heavy LXC will want 2-4 GB depending on workload. With 8 GB total, you can run Proxmox plus 2-3 lightweight VMs or several LXCs comfortably. Bump to 16 GB if you want headroom.
Hardware examples:
Used Dell OptiPlex 7050 SFF, HP EliteDesk 800 G3, Lenovo ThinkCentre Tiny M720q, or any decent mini PC with an Intel chip that has Quick Sync. Add an SSD, maybe bump the RAM if it’s cheap, install Proxmox VE, and you’re running.
This tier works if your needs are simple and, you’re just getting started with Proxmox homelabs.
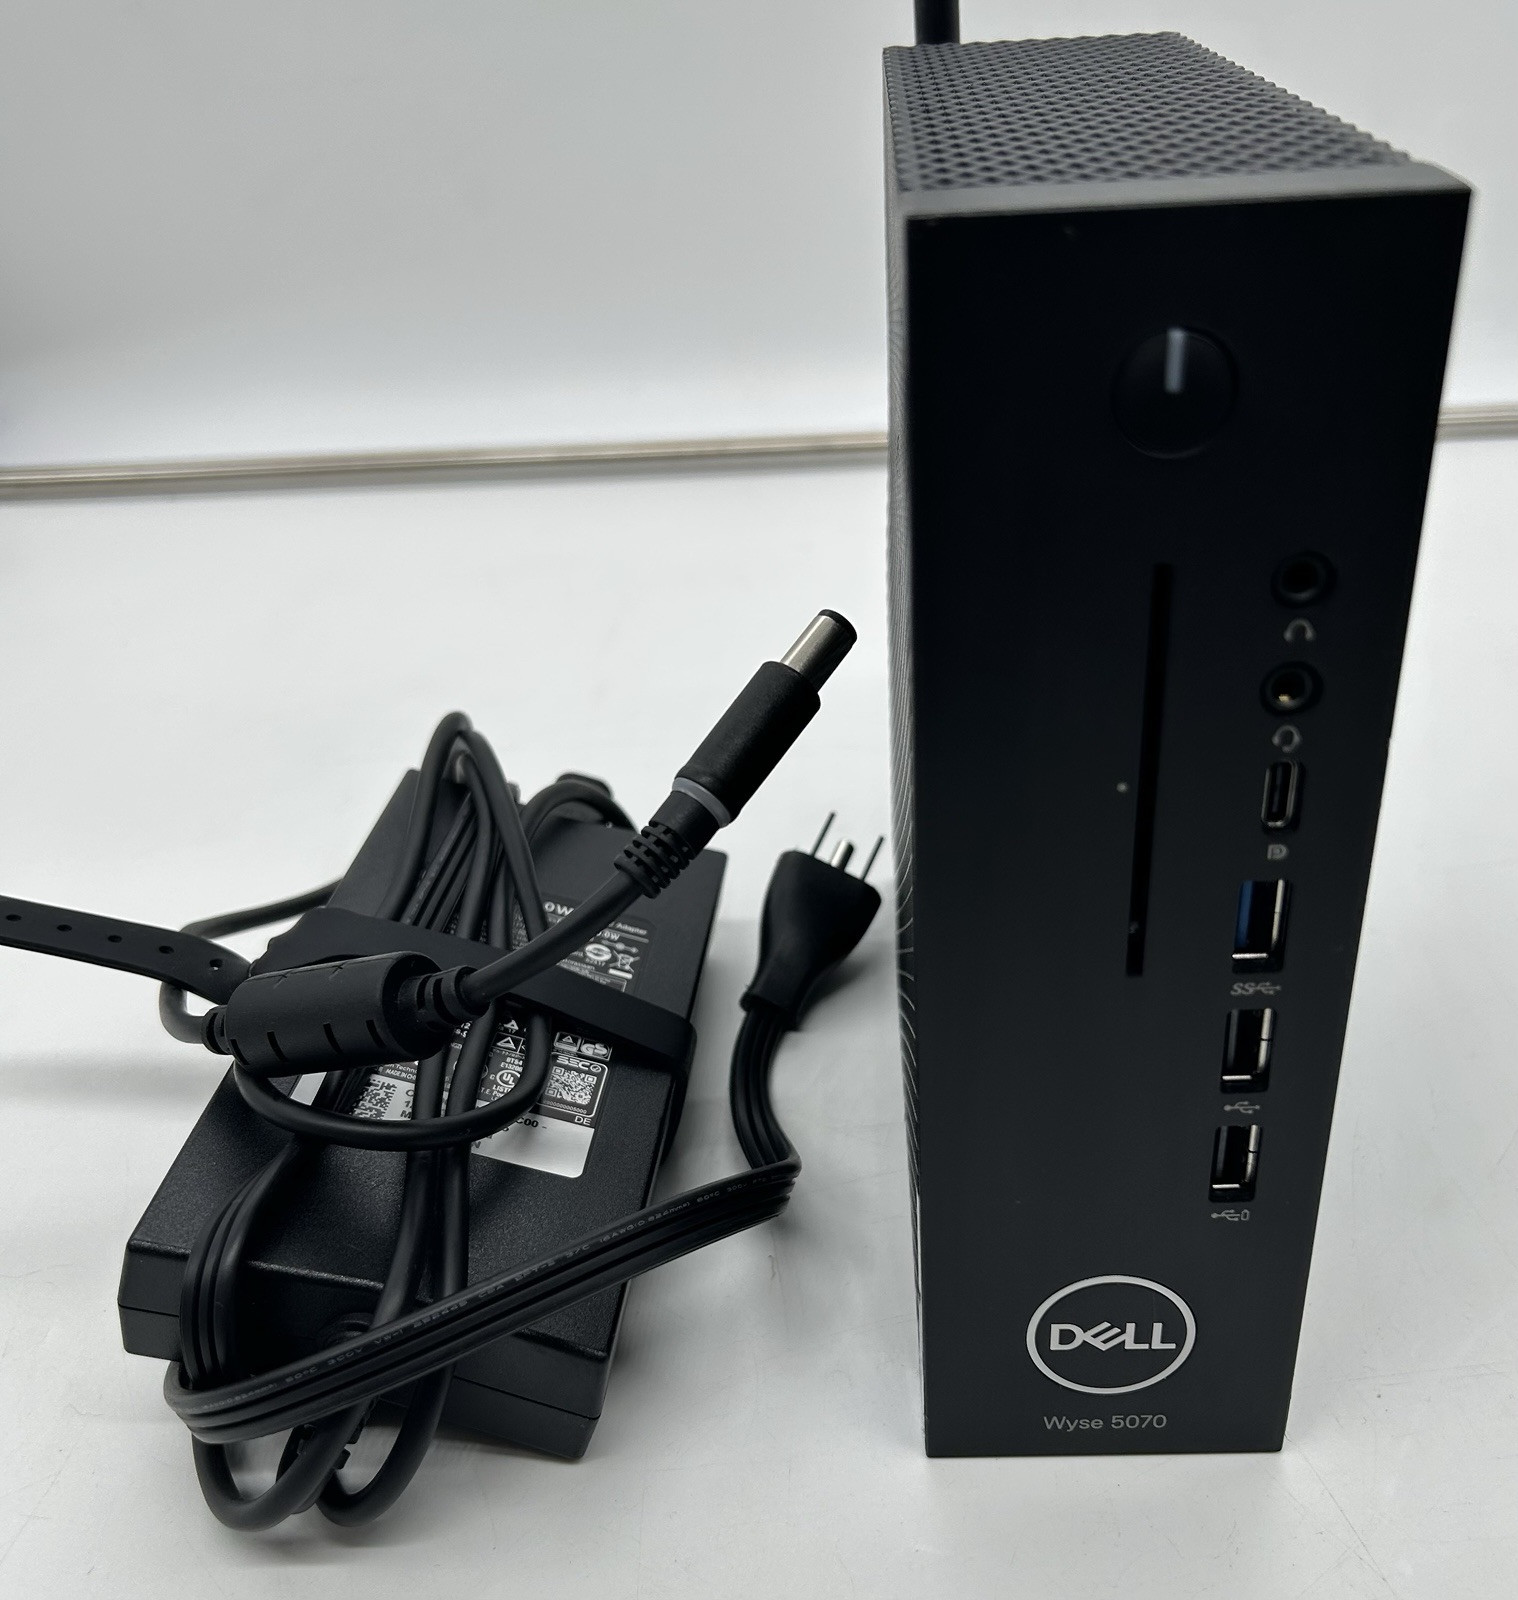
Dell Wyse 5070 Extended (J5005)
This is the budget-friendly, low-power Proxmox box that “just works”. Add an Intel i350-T2, give it 8–16 GB of RAM, and you’ve got a quiet, reliable home router with room for several LXCs and VMs.
Price: $80 - $170
Contains affiliate links. I may earn a commission at no cost to you.
Balanced Proxmox Compute Server Build (Recommended)
Specs:
- 6-8 cores (modern Intel i5/i7)
- 16-32 GB RAM (32 GB strongly recommended)
- 500 GB - 1 TB NVMe SSD for fast VM storage
- Intel iGPU (for Quick Sync hardware transcoding)
- 2.5 GbE NIC preferred
Good for:
- 1080p and 4K transcoding with hardware acceleration
- Multiple simultaneous users and media streams
- Running several VMs alongside multiple LXCs
- Full Arr stack in Docker plus Jellyfin, Home Assistant, and more
Why this is the sweet spot for most Proxmox homelabs:
This is where I landed. My i5-12600K build with 64 GB of RAM and local RAID-Z2 storage for VM protection handles everything I throw at it. Jellyfin transcodes 4K HEVC smoothly with QuickSync. The Arr suite runs in Docker without breaking a sweat. I can snapshot VMs, rebuild entire stacks, test new configs and nobody in the house notices unless I tell them.
Why 32 GB RAM instead of 16 GB?
Here’s the reality: Proxmox itself uses 2 GB. Each Docker VM will want 4-8 GB depending on how many containers you’re running. Jellyfin in an LXC will use 2-4 GB during transcodes. If you’re running ZFS on your local storage (like my RAID-Z2), ZFS will want to use up to 50% of available RAM for its ARC cache.
With 16 GB total, you’ll constantly be swap-constrained and performance will suffer. With 32 GB, you have room to grow and VMs aren’t fighting each other for memory. With 64 GB like I have, you can run just about anything without thinking twice.
CPU considerations:
Modern Intel CPUs (12th gen and newer) are ideal. Intel has an edge here if you care about hardware transcoding because Quick Sync support in Jellyfin and Plex is excellent and dramatically reduces CPU load.
If you’re running lots of containers or VMs, prioritize core count. Each VM you run will want 2-4 dedicated cores for good performance. Try not to over-provision. If you assign more vCPUs to VMs than you have physical cores, Proxmox will time-share and everything slows down.
This tier is perfect if you’re serious about a Proxmox homelab media setup that works reliably.

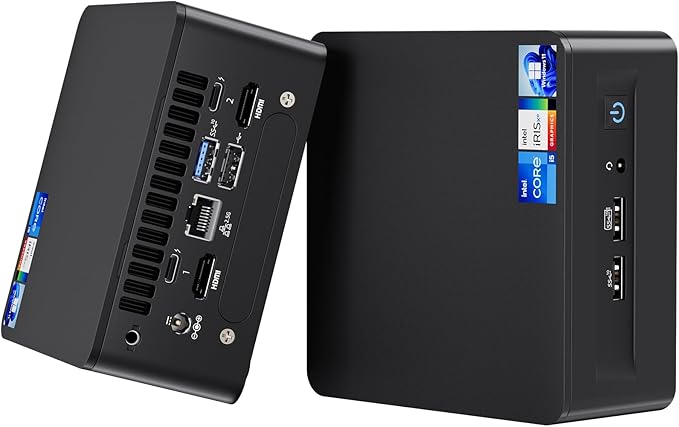
The MS-01 i5 is a tiny mini PC with plenty of cores, multiple NVMe slots, and real homelab networking (dual 10G SFP+ plus 2.5 GbE), which makes it perfect for a Proxmox compute node. It has enough power for Jellyfin, the *arr stack, downloads, and a few VMs or LXCs, without being a space heater.
High-End Proxmox Compute Server Build
Specs:
- 8+ cores with high clock speeds (Intel i7/i9)
- 64-128 GB RAM
- Large NVMe (1-2 TB) for VMs and fast workloads
- Dedicated GPU for transcoding or compute tasks (optional)
- 10 GbE NIC if your NAS can keep up
Good for:
- Heavy 4K HEVC transcoding workloads
- Multiple simultaneous remote transcode streams
- Running many VMs and test environments in Proxmox clusters
- Extra workloads like game servers, AI/LLM tools, or development environments
When this tier makes sense:
If you’re running significantly more than just media services, if you’re sharing your Proxmox setup with people outside your house, or if you’re experimenting heavily with nested virtualization and want room to grow without limits.
For a simple household Proxmox homelab? This is overkill. But if you have the use cases and the power budget, it’s very nice to have all that headroom.
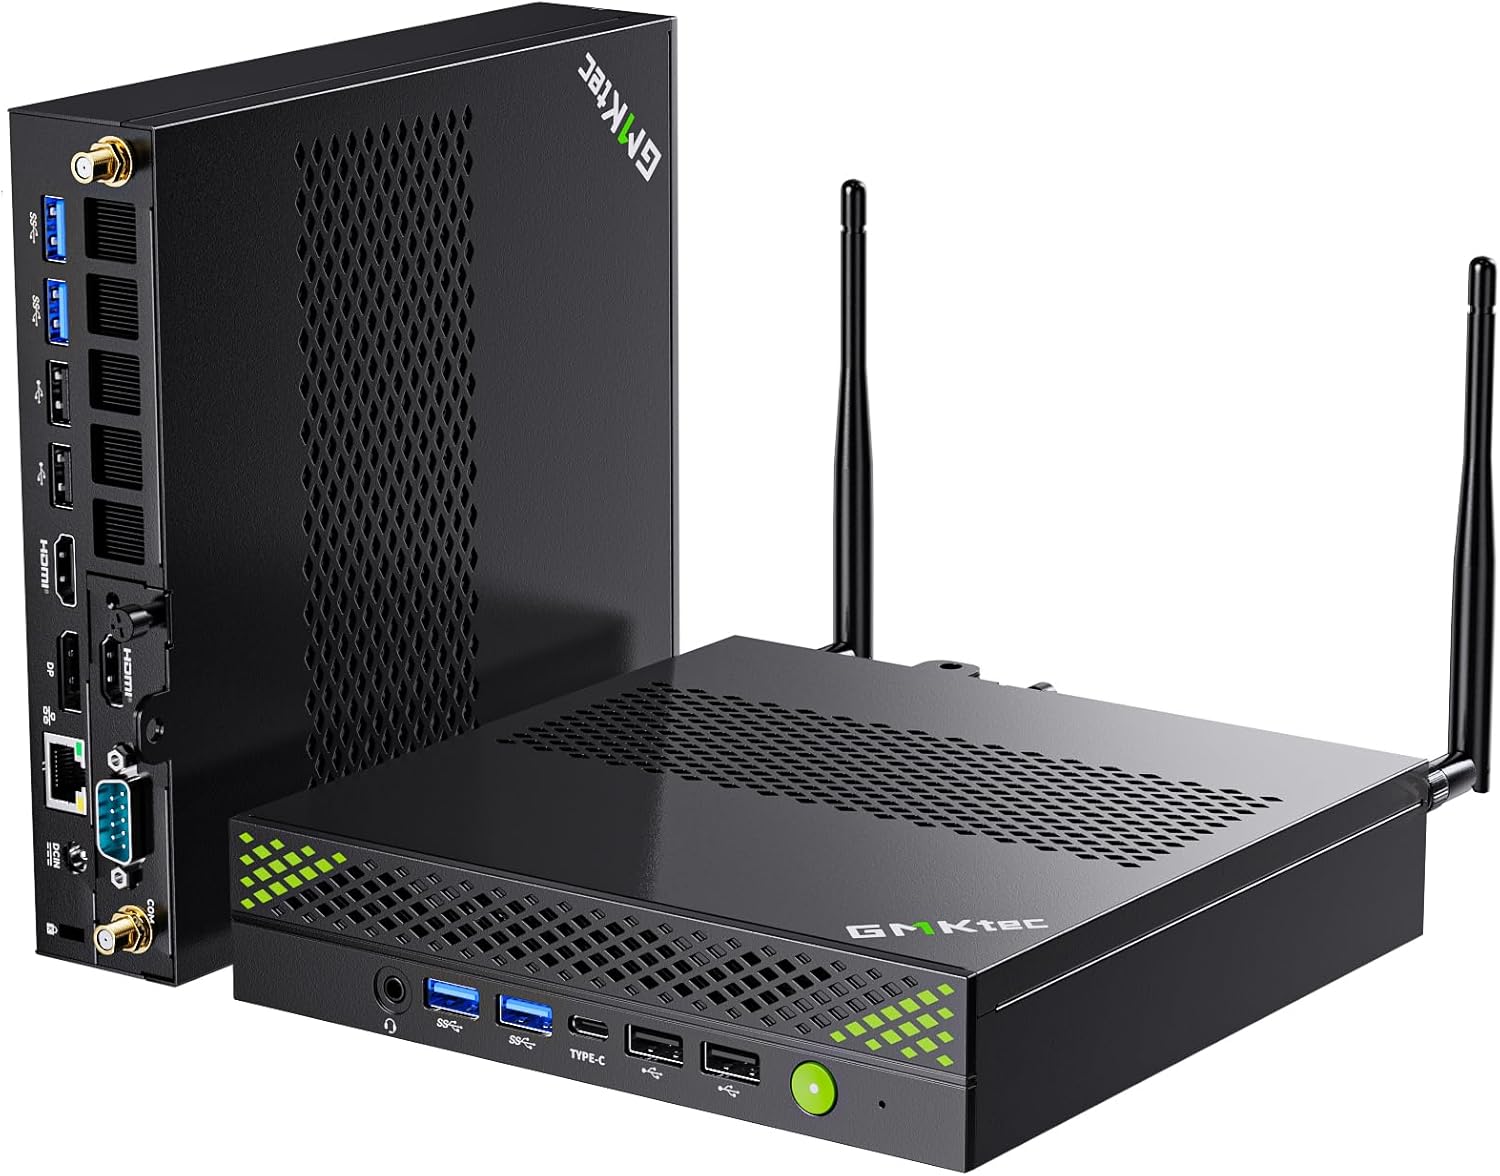
GMKtec K10 Mini PC is powered by the 13th Gen Intel Core i9-13900HK CPU, with 14 cores and 20 threads. It features a 24MB Smart Cache and a TDP of 45W, delivering exceptional performance for demanding VMs and LXCs.
Recommended Proxmox Layout for Your Compute Node
You don’t need anything complicated to start with Proxmox VE.
Here’s a clean layout that works for most homelab setups:
Infrastructure LXC:
- Nginx Proxy Manager or Traefik for reverse proxy
- Tailscale, WireGuard, or Cloudflare Tunnel for secure remote access
- This container stays up when everything else is being rebuilt
Primary Docker VM:
- Ubuntu or Debian VM running Docker and Docker Compose
- Your entire media stack: Arr suite, download clients, media automation
- Easy to snapshot before major changes
Optional Secondary Docker VM:
- Separate VM for experimental or unrelated Docker workloads
- Automation tools like n8n, Home Assistant if you want it containerized
- Keeps your core media stack isolated from other projects
Individual Service LXCs:
- Jellyfin or Plex (LXC for GPU passthrough flexibility)
- Audiobookshelf, Immich, or other single-purpose services
- Utility containers for scripts, monitoring, or tools you’re testing
Real World Benefits of a Dedicated Proxmox Compute Server
Once you split compute away from routing and storage, a lot of things stop being crises.
You can reboot Proxmox without taking down the house.
Need to apply Proxmox kernel updates? Need to test a hardware change? Go ahead. Your router stays up. Your NAS stays accessible. Jellyfin goes down for a few minutes and comes back. No one freaks out.
You can rebuild services without fear.
Snapshot your Docker VM before making changes. Try a new Jellyfin major version. Completely rebuild your Arr stack with different Docker Compose configs. If it breaks, roll back the Proxmox snapshot in 30 seconds. If it works, keep it and delete the old snapshot. Your NAS and router don’t care either way.
You can stress test during off hours without affecting critical services.
Want to run Tdarr overnight and transcode your entire 4K library? Go for it. Let the CPU pin at 100% all night. Your router isn’t competing for cycles. Your NAS isn’t getting hammered by transcode temp files.
Your family notices the difference—in a good way.
I used to hear “the internet is down AGAIN” all the time. Now? Things just work. My wife doesn’t think about the server anymore. It’s invisible. That’s exactly the goal.
And since splitting things up, I’ve even been able to share my Jellyfin server with one friend outside my house. Not because my upload speeds got better (they’re still trash) but because the system is stable enough that I trust it to work consistently without me babysitting it.
The Real Risks of Running Everything on One Proxmox Box
If you keep routing, storage, and compute all on one Proxmox server, here’s what you’re signing up for:
Hardware failures cascade completely.
PSU dies like mine did? Motherboard failure? Bad RAM stick? Your entire digital life disappears. Internet, storage, every app, every VM. All gone until you fix or replace hardware.
Software issues spread everywhere.
Kernel panic during a Proxmox upgrade? One VM consuming all available RAM? A filled root partition from runaway Docker logs? Now routing is broken, storage is inaccessible, and all your apps are down.
Maintenance becomes high-risk.
Want to add more RAM? Swap a drive? Update BIOS? Better hope it goes smoothly, because if something goes wrong during maintenance, everything is offline until you recover.
Boot order is a constant gamble.
Will the NAS VM start before other services try to mount shares? Will everything come up in the right sequence? Or will you spend 15 minutes manually restarting services until things work?
No room for safe experimentation.
Want to test a major Proxmox upgrade? Try a different hypervisor kernel? Experiment with GPU passthrough? Better be confident, because if it breaks, you’re taking down the router and storage too.
This isn’t “maybe someday.” I lived it. The PSU failure was my wake-up call, but the constant virtualized NAS mount issues and boot order anxiety were already wearing me down.
How to Start: Your Roadmap to Separating Compute
If you’re running everything on one box right now and this all sounds overwhelming, here’s the actual migration path:
Step 1: Plan and budget for dedicated NAS storage first.
That’s what I moved first, and it was absolutely the right call. Storage was causing me the most pain with the virtualized NAS and mount issues. Getting that onto dedicated hardware immediately made everything more stable.
Figure out your NAS platform (TrueNAS, Unraid, or bare metal Linux with ZFS/MergerFS). Budget for drives, an HBA if you need one, and a box to house it all. You don’t need to buy enterprise-grade equipment, consumer hardware works fine for homelab use.
Step 2: Build the NAS and migrate storage.
Set up your NAS with ZFS or your chosen filesystem. Configure NFS and SMB shares. Test everything thoroughly. Then move your drives over.
Keep your current NAS VM off but available to restore if you need to. Once everything is migrated and verified, you can delete your old VM (I kept mine for a week or so).
Step 3: Move your router when budget allows.
This takes a bit more planning and usually some dedicated hardware budget. But once storage is separate, your next priority is getting routing off the all-in-one. A dedicated pfSense or OPNsense box, or even a good prosumer router if you don’t need advanced firewall features.
Step 4: What’s left is your dedicated compute node.
Once routing and storage are separated, what remains is just your Proxmox compute server. You might want to add more RAM or upgrade storage for better VM performance, but the foundation is already there. You just keep running VMs and containers on dedicated compute hardware.
You don’t have to do this overnight. Each step makes the next one safer. Each separation reduces the blast radius when something goes wrong.
What I Wish I Knew Before Starting
If I could go back and tell myself one thing before beginning this Proxmox homelab journey, it would be this:
Learn how Proxmox handles storage pools and ZFS arrays before you provision anything.
I wasted hours trying to figure out Proxmox storage configuration, mount points, and how Proxmox integrates with external NFS shares because I didn’t understand the basics up front. Thirty minutes of reading the official Proxmox documentation would have saved me multiple evenings of trial and error.
If you’re building local RAID-Z2 or hardware RAID storage in your compute box, understand how Proxmox will use it before you create storage pools and start deploying VMs.
Don’t cheap out on CPU and RAM for your intended workload.
Buy hardware appropriate for the workloads you plan to run. If you know you’ll be transcoding 4K, running multiple Docker stacks, and hosting several VMs, don’t try to save $100 by buying inadequate hardware. You’ll just end up buying better hardware later anyway, and you’ll have wasted time being frustrated by poor performance.
Under-provisioning RAM is especially painful. If you don’t have enough RAM, Proxmox will swap to disk constantly and everything slows to a crawl. Same thing happens if you over-provision CPU cores across too many VMs. Time-sharing kills performance.
Build it right the first time.
Frequently Asked Questions About Proxmox Compute Servers
➤ How much RAM do I need for a Proxmox compute server?
➤ Can I run Docker directly in Proxmox LXC containers?
➤ What's the difference between LXC and VMs in Proxmox?
➤ Do I need a dedicated GPU for Jellyfin transcoding in Proxmox?
➤ Can I use consumer SSDs for Proxmox VM storage?
➤ Should I run my router as a VM in Proxmox?
➤ What's better for Proxmox storage: hardware RAID or ZFS?
What’s Next in the Proxmox Homelab Series
You have the router running pfSense or OPNsense. You have the NAS providing reliable storage. Now you have the dedicated Proxmox compute server running your applications.
There’s one more critical piece to add: the Proxmox Backup Server.
Next up is Part 5, where we cover building a Proxmox Backup Server that can actually save you when things go sideways. Because they will. And when your compute node crashes or you accidentally delete the wrong VM, you’ll be very glad you have working backups.
Until then: separate your compute. Your future self will thank you.